CDR (Call Detail Records) for all placed or received calls on the system. In addition to normal operation an authorized user is able to perform additional actions such as extensive search, listen to recorded calls, call any destinations listed and access advanced features.
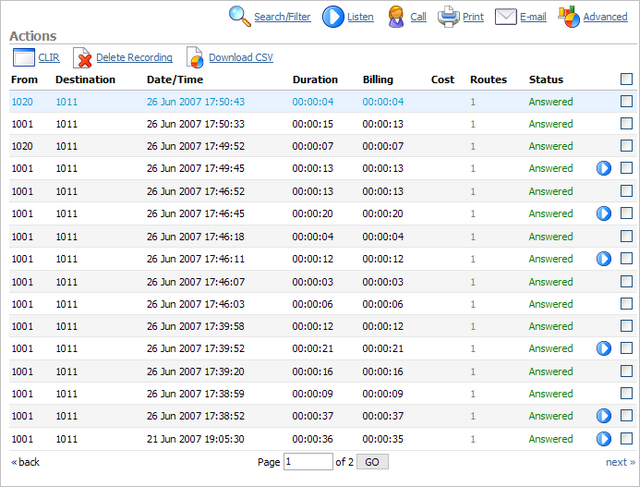
Table 8.12. CDR


Table 8.13. Search/Filter
| Tip | |
|---|---|
|
After making any changes to search filter, be sure to click the search icon |

In this chapter we will cover:
Table 8.14. Listen
| Tip | |
|---|---|
|
By default the sound format is available as a .gsm file. To change the recording format go to: 'Settings: Servers: Edit: Recordings format' and select one of the available sound formats:
|
To establish a call between any PBXware extension with a listed extensions you have to provide only two things. The Caller $EXTENSION number and the $DESTINATION extension

Table 8.15. Call
| Tip | |
|---|---|
|
After setting 'Caller' and 'Destination' extensions click the call icon |
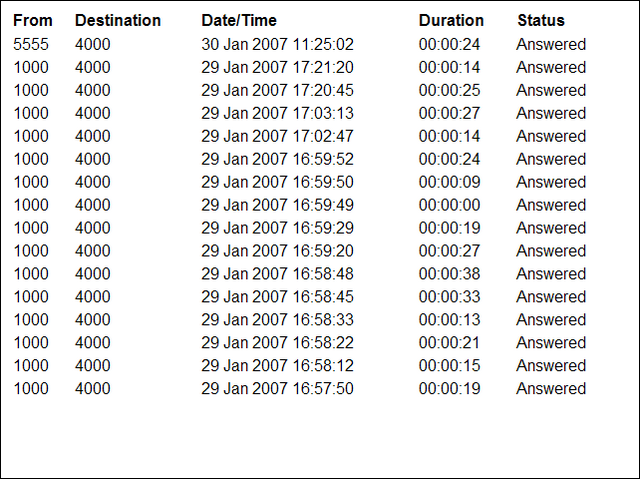
Check the box next to a call record and click the 'Print' button. This action will open a new popup window with the printing interface.
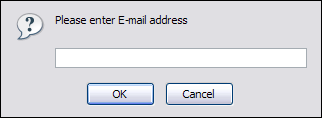
Check the box next to a call record and click the 'Email' button. A small popup dialog will appear. Provide email address here and click 'OK' button to send the records.
In this chapter we will cover:

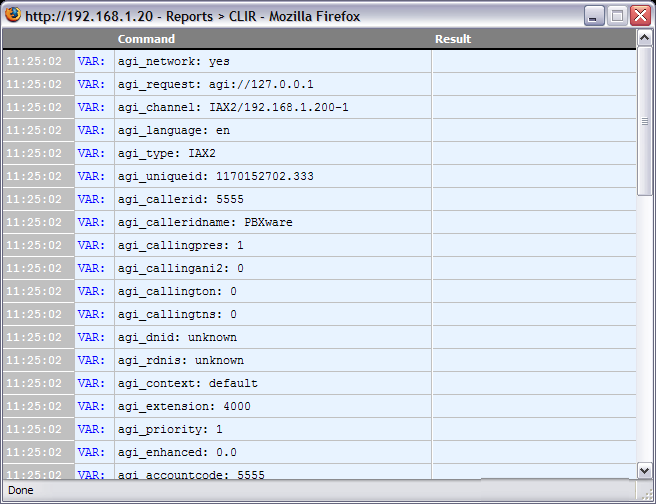
Table 8.16. CLIR